
Smooth
The first thing you will want to do to prepare your wall is make sure it is smooth. Start by removing any hooks, nails and light switch plates. This will invariably leave holes and raised areas where these items were. Any bumps or craters in your wall may be visible through the wallpaper and could affect the way the print looks. Prepare your wall by filling in any holes or craters with spackle and sanding any bumps. You will be left with a smooth and even surface. Most of the time a light texture isn’t a problem, but deep textures in your walls should be smoothed. A smooth wall will ensure that every inch of wallpaper surface area is being held against the wall. This will help prevent issues of lifting over time as well as eradicate hiding areas for moisture which can lead to mold.
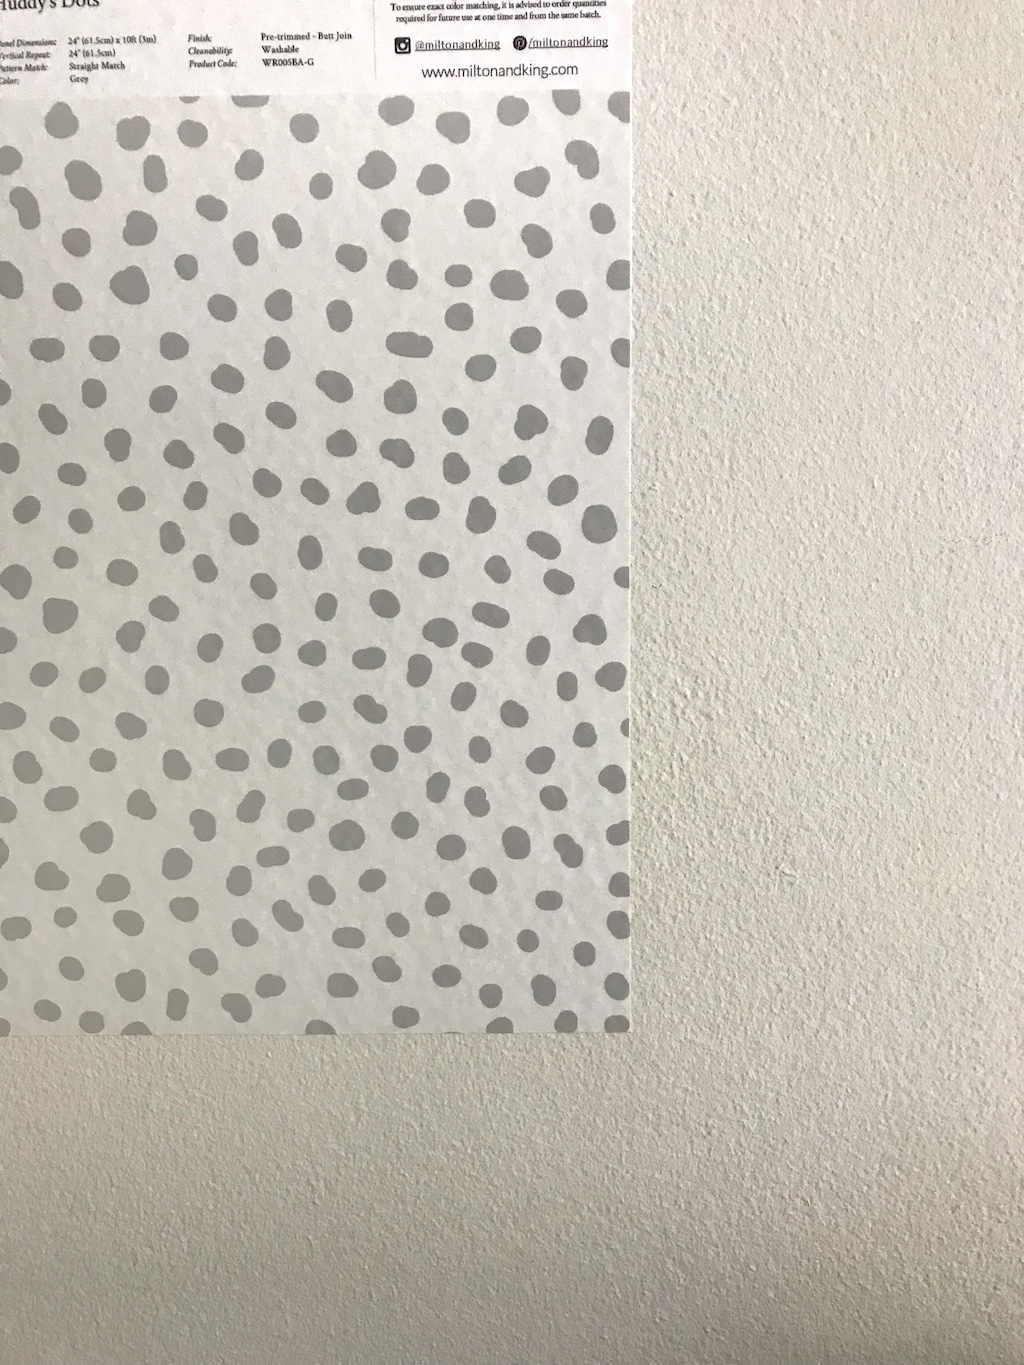
Wallpaper with a white background or very light colors can sometimes reveal the wall’s texture through the paper. Darker colors tend to cover up any imperfections. You can see here, Traci Sheppard from Phoenix And The Ocean testing a sample of the Huddy’s Dots design. In this case, she is wallpapering over a painted concrete wall, not the easiest thing to smooth. If you look closely, you can see the texture peeking through. Fortunately, it wasn’t enough of a problem to discourage her from moving forward with her wallpaper plans.
Your wallpaper will have its best look on a flat wall. You can prepare your wall for wallpaper by a process called mudding. This is where you apply a skim coat of joint compound to your wall. Once you smooth it onto your wall, you allow it to dry and sand it smooth and then apply a primer. You can learn more about textured walls and what to do about them by visiting our blog called Textured Walls: Are They A Problem For Wallpaper.
Clean
The second step will be to clean your wall. This step should not only happen now, but also again right before installation. After you have sanded your wall, there may be all sorts of small dust particles that you don’t want to paint over nor install over. It is recommended that on the first pass, you use a strong cleaner like sugar soap or TSP (trisodium phosphate) to get rid of grease and other build up. If you already have paint on the wall, then using a solution of hot water with a small amount of vinegar will do the trick. Then, you’ll also want to revisit this cleaning step with just a soft wet cloth around 24 to 48 hours before you install your wallpaper. Thanks to Bud from White Sparrow Farm, we can see just how it’s done.
Paint & Primer
Paint can be a problem. The presence of and the lack thereof. Eggshell, satin, or semi-gloss paints seem to do best with wallpaper. You don’t want to apply wallpaper to a latex paint as it will likely tear when you want to remove the wallpaper. You also don’t want to install any wallpaper directly to drywall. For paste-the-wall wallpaper, the drywall can soak up the paste not leaving much for the paper. It is best to apply a primer to seal the wall before applying the paste. This also stops moisture from absorbing into the wall preventing the growth of mold and fungus.
Primers will usually come in white. This is fine if you are using a light colored design. Milton & King wallpaper is a butt-join wallpaper. This means the seams of two joining wallpaper strips will go right up against each other. There is no need for overlap and there should be no expanding or contacting of the wallpaper in a stable environment. However, unless you do a perfect install, (and let’s face it, how many of us are perfect?), it’s always a good idea to paint or primer the wall in a color that is similar to your wallpaper. Having a white wall underneath your darkly colored wallpaper creates the risk of seeing white seams between strips of wallpaper. You can avoid this by having the person at the hardware store tint your primer in a similar color to your wallpaper.
If you are applying wallpaper to a freshly painted wall, it can take some paints up to 30 days to fully set. So you will want to make sure you wait a month before applying wallpaper to a newly painted wall. Primer, however, dries very quickly and you will only need to wait a day or so.
Moisture
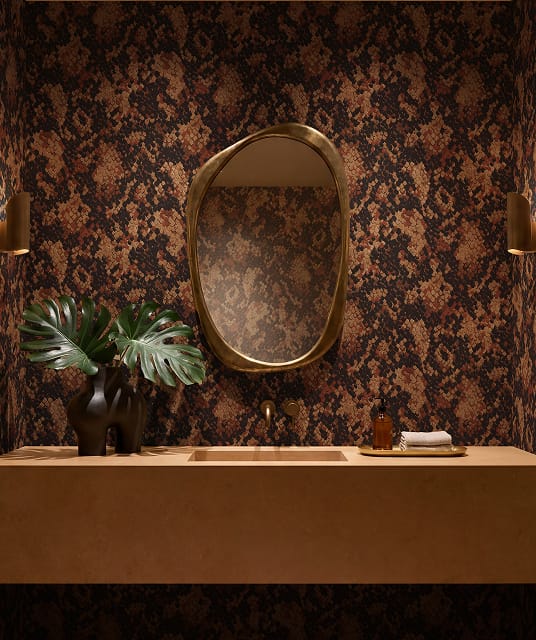
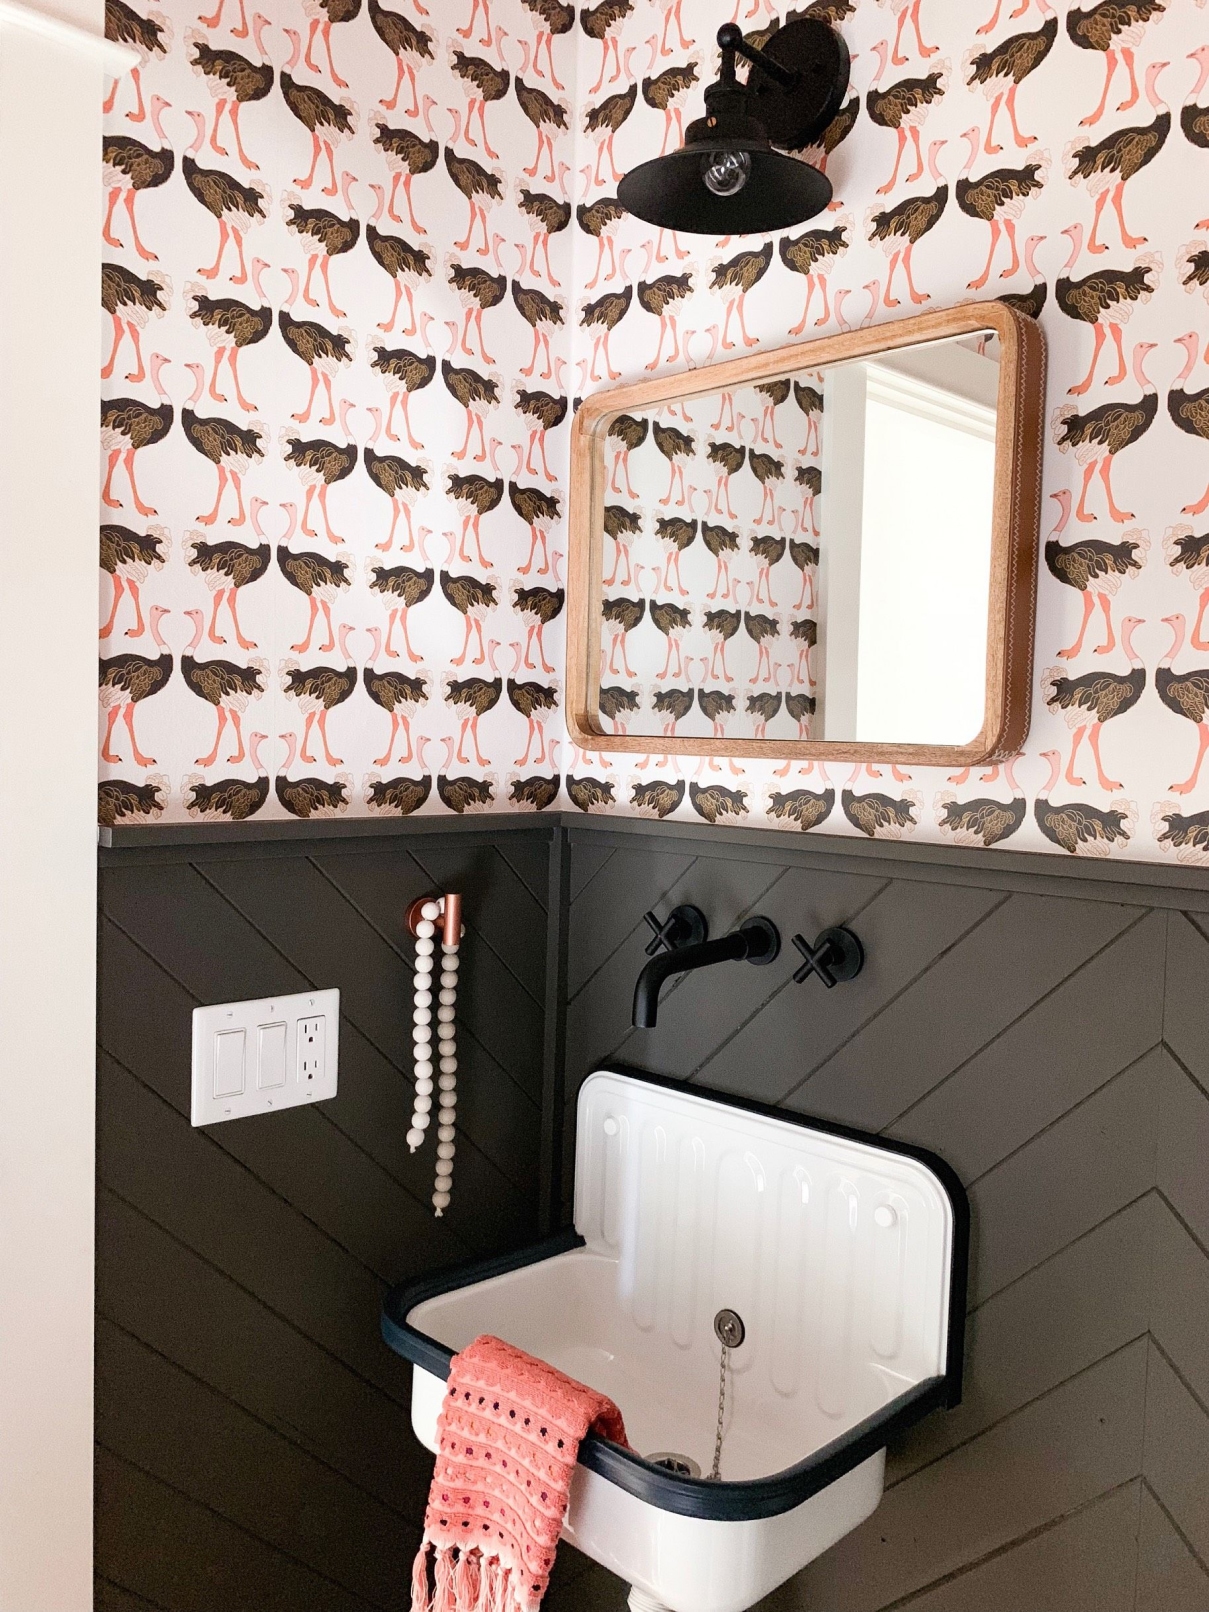
Side Note: Can I put wallpaper in a bathroom? I have seen this question asked many times. Nobody’s bathroom is the same. And when you say bathroom, do you mean a room with a toilet? Or a room with a shower? These details will determine much about whether the wallpaper will have trouble adhering to your walls and will also indicate how you can prepare your wall so that it is suitable for wallpaper.
The non-woven aspect of the wallpaper means that it is breathable, making it suitable for normal humid environments. So, your wallpaper will work but is not meant to come into direct contact with water. If the wallpaper does get wet, you will want to immediately wipe it down with a soft-cloth. Any sitting water will eventually soak through, weakening the paste underneath and causing the wallpaper to lift over time. If your bathroom is a more extreme environment, like if the walls tend to get soaked with water, you can take steps to waterproof your wallpaper. Read more about that on our blog How To Waterproof Your Wallpaper. However, keep in mind that once you waterproof your wallpaper, it is no longer breathable or nor easily removed. In that case, you’ll also want to use a mold/mildew inhibiting paste like Roman Pro-543. Under normal circumstances though, as long as the door stays open and there is ventilation, installing wallpaper in the bathroom is fine.
So Let’s Recap how to prepare your wall for wallpaper
- Smooth the wall. Fill holes and “mud” over texture and sand any bumps.
- Clean your wall. For best results use sugar soap or hot water with cleaning vinegar.
- Apply primer to seal the wall. (If painting, use an eggshell, satin or semi-gloss paint).
- Wipe down your wall with a damp cloth 24 hours prior to installing.
- Install your wallpaper and make your interior dreams come true.
Knowing how to prepare your wall for wallpaper is important to make sure that you get your money’s worth out of your purchase. The more precautions you take beforehand, the more bulletproof you will be against all the things that can go wrong. So when you get the opportunity to buy your dream wallpaper, prepare your walls first, and luck will follow.