Why is this happening?
If you are using non-woven paste-the-wall wallpaper, you may think there are only two possible culprits on your wall; you have the paper and you have the paste. However, one of the special features of non-woven wallpaper is the resistance to expansion and contraction. In the old days of wallpaper when you had to soak the paper to activate the adhesive, the wallpaper could expand when wet and contract when drying. Non-woven wallpaper is created with this problem in mind. The mix of synthetic and natural fibers in the wallpaper backing keeps the paper stable. Also, Milton & King wallpaper is designed as a butt-join, meaning it requires no overlap. You just butt the edges of the wallpaper right up against each other for a seamless design pattern.
So if the wallpaper isn’t to blame, is it the paste? It’s very possible but it’s likely not the paste alone. Different pastes have different consistencies. Some are more watery than others. There are several good paste brands on the market like Zinsser and Roman. However, how the paste interacts with your wall, the paint and the prep can determine the effectiveness of the paste. The appearance of seams in your wallpaper is likely due to a combination of the paste, the wall prep and the application. Let’s dive a little deeper.

Wallpaper Tack & Wall Prep
Wallpaper paste has a quality known as “tack” or grip. This is just a term to describe the stickiness of the paste. A wallpaper paste with a good “tack” means it holds the wallpaper in place very well. You also want good “glide” which allows you to push and maneuver your wallpaper. Both “glide” and “tack” will help as you are smoothing out the paper.
Prepping your wall will improve the results of your wallpaper install, helping to eliminate the appearances of seams. Adding a coat of primer will help the effectiveness of your paste in two ways. First, it will seal your wall so that water from the paste doesn’t simply soak into the wall. An unprepared wall that soaks up the paste renders the “tack” of the paste ineffective. If the wall is sealed with a primer, the paste stays on top helping to hold the wallpaper in place. Second, a primer will provide a better surface to improve the wallpaper’s grip. Many paints have a primer in them. However, if you have a high gloss paint on the wall, there is a good chance the surface is more slick than a matte or eggshell paint. If you want the wallpaper to have a good grip, consider using the appropriate primer. For more information on primers, checkout our Ultimate Guide To Wallpaper Primer
The Importance of Smoothing
Smoothing of the wallpaper is VERY important. It’s not just for getting air bubbles out of the wallpaper. It’s also for applying a good amount of pressure to the wallpaper to increase the tack and to push any excess paste out at the edges. If you just sorta, hang your wallpaper up without applying any sort of pressure to it, it won’t have the tack it needs to keep it in place as it dries. Think of when you apply a band-aid to a scratch, or packing tape to a box. After immediate application, you always rub your hand over it to make sure there is enough pressure and hold. It’s almost a natural instinct. The same idea applies to wallpaper installation. This is where a seam roller can be very helpful. Use a seam roller at the edges of each wallpaper panel to increase the paper’s grip.
Don’t Stretch it!
If the wallpaper is a butt-join, it means that the paper is designed to match at the seam without requiring any overlap. However, one mistake many installers make is after the paper is applied, they push and stretch the wallpaper at the edges in order to close any space between two strips of wallpaper. Wallpaper does have some stretch to it. However, if it can expand with force, it can also contract. When making small adjustments to the installation, it is best push the wallpaper from the middle. The intention should be to slide the entire panel over and not stretch the paper at the edges. And if the paper has trouble sliding, you’re better off lifting the paper away from the wall and placing it so that it is properly lined up. This will help avoid any snap back during the drying process that may occur from paper that has been over stretched.
So to avoid seams showing in your wallpaper, prepare your wall by applying the appropriate wallpaper primer. Choose a quality paste with good tack. Apply a good amount of pressure to the wallpaper as you smooth out any air bubbles and don’t over stretch the paper to close the seam.
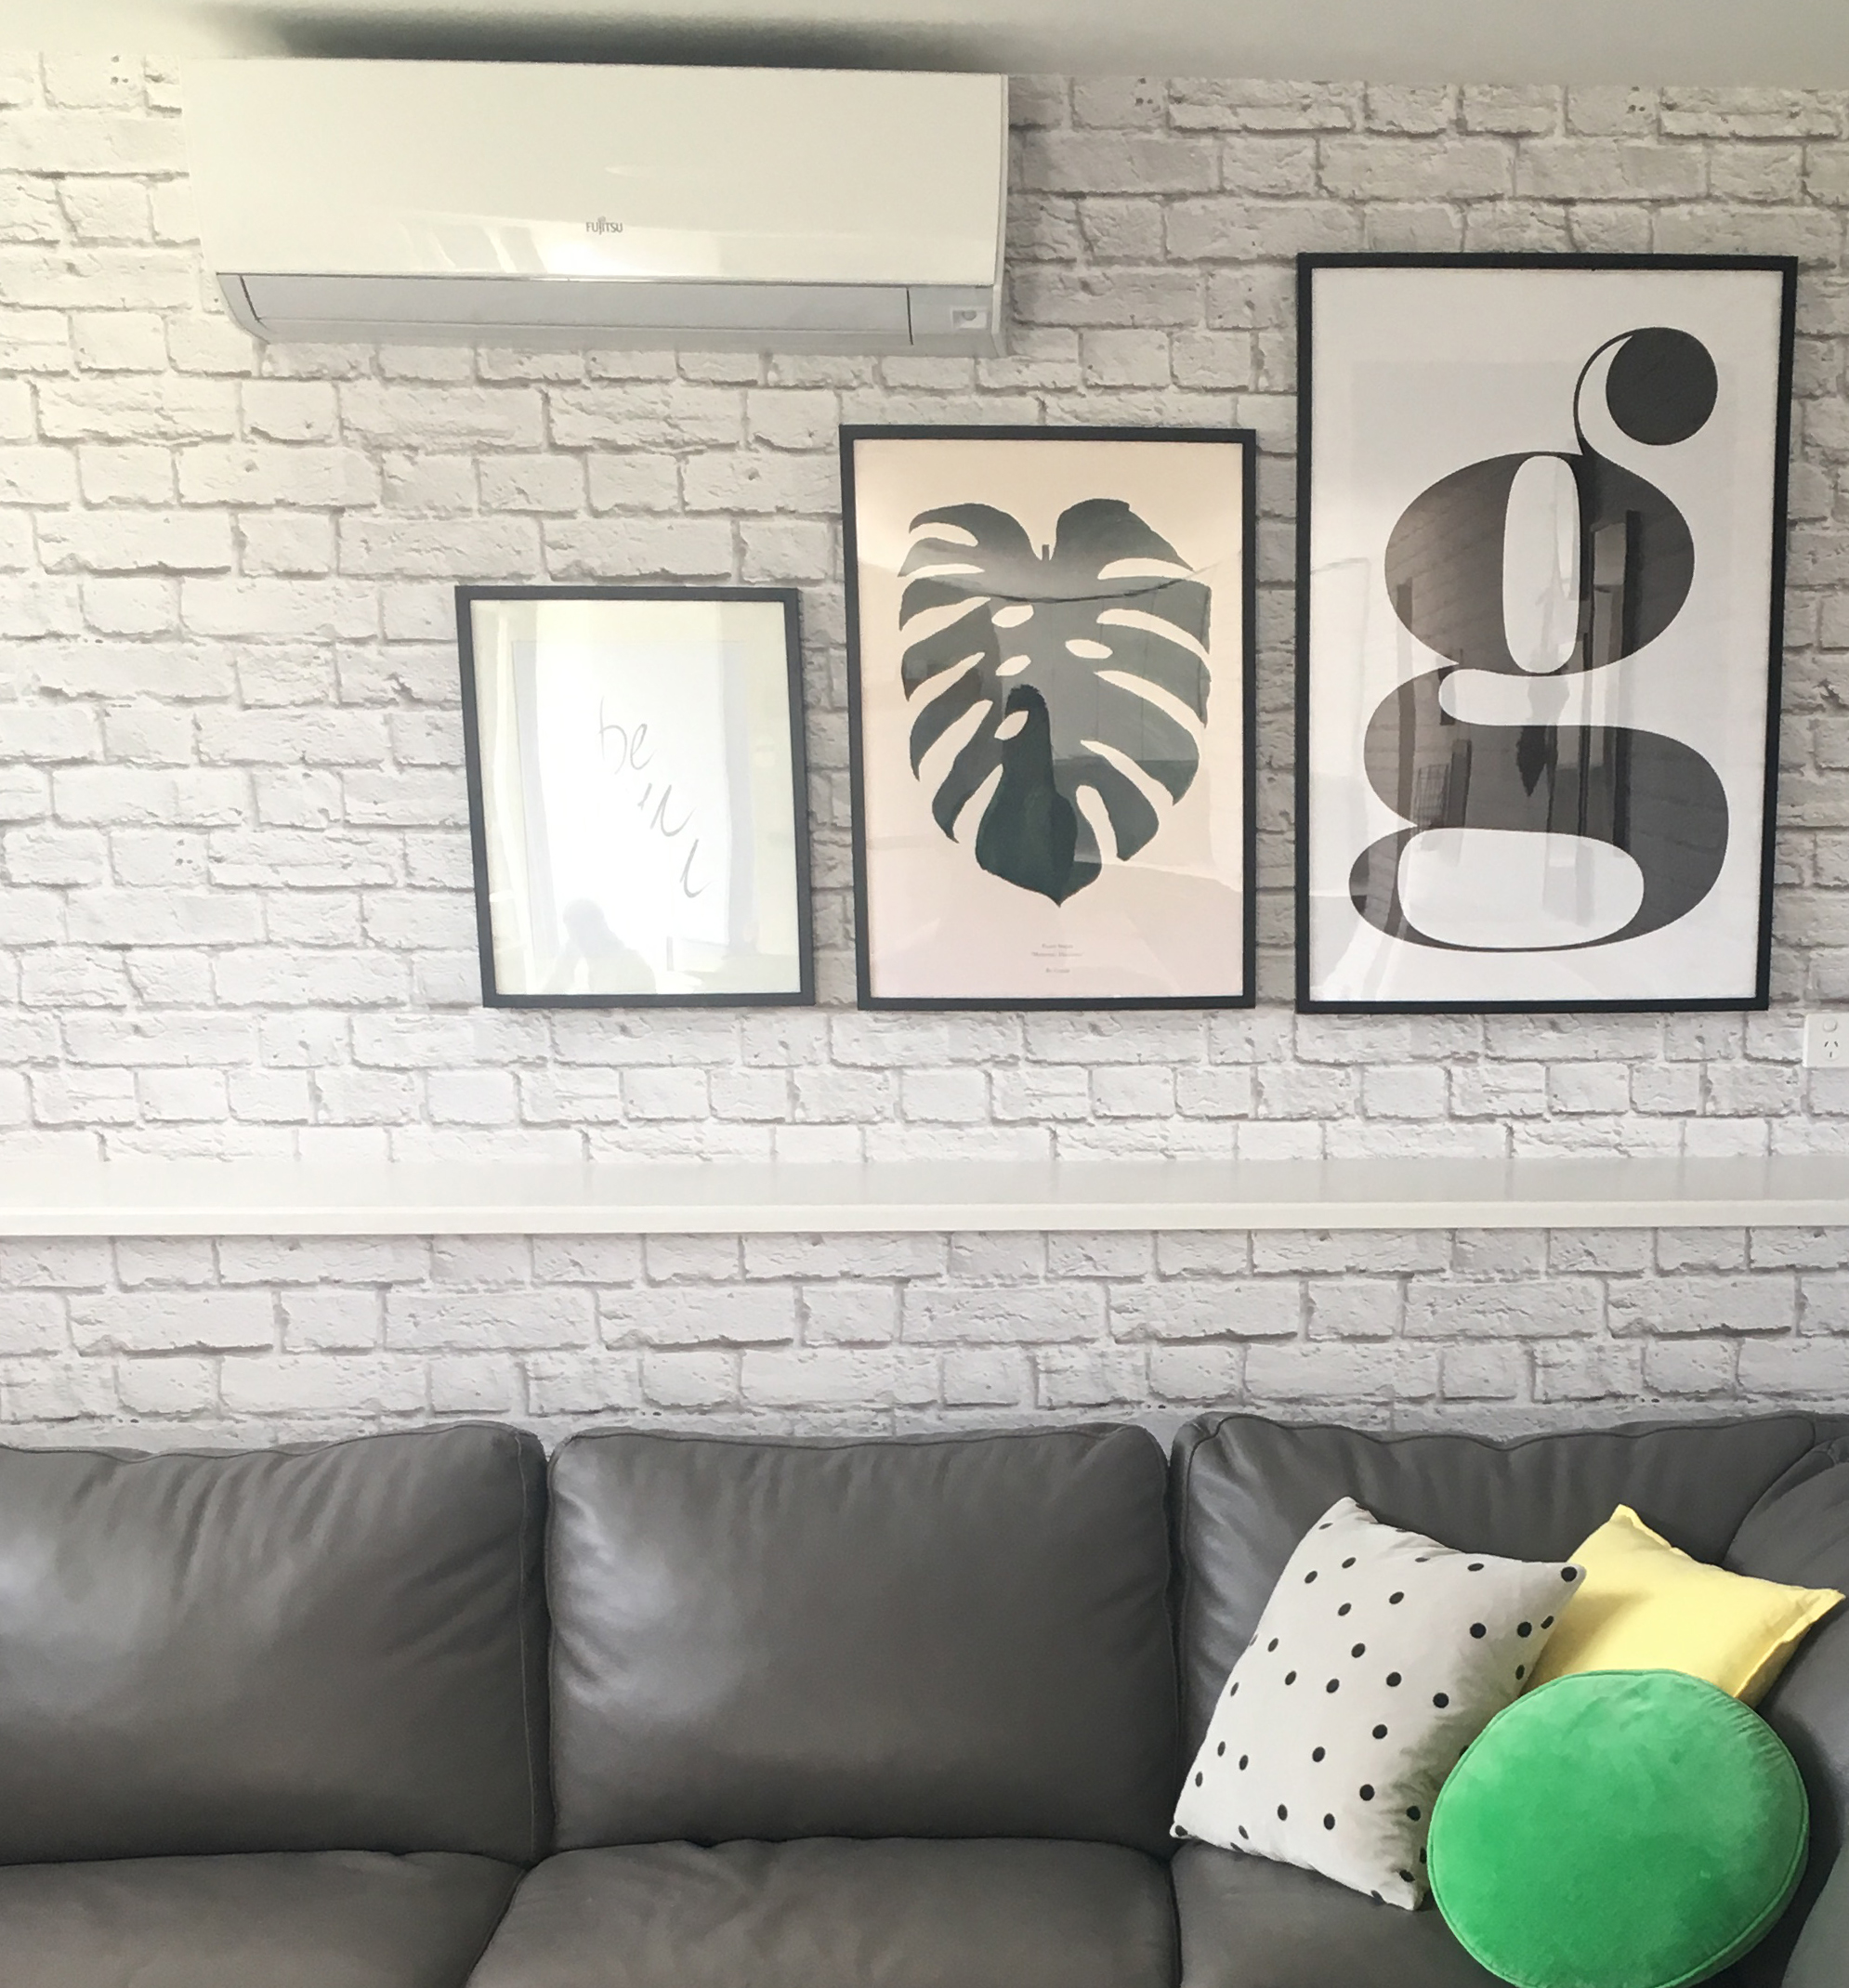
The image above shows an air conditioning unit on the wall with Soft White Bricks wallpaper.
Problems of Heat and Cold on Wallpaper
Heat and cold tend to have expansion and contraction affects on everything from the air you breathe to the water you drink. However, even still, the wallpaper is constructed to be a durable product. So why even bother mentioning the heat and cold? This has more to do with the issue of uneven drying. Specifically, if you have installed your wallpaper under an air conditioning unit or next to a heater or if part of your wall is affected by direct hot sunlight, it’s conceivable that the section of wallpaper in these areas is going to dry faster than others. That uneven drying can tend to pull your wallpaper in one direction or another. We recommend allowing the wallpaper to dry as naturally as possible, avoiding using any cooling or heating units that may come into direct contact with the wallpaper. That being said, proper pressure and smoothing of the wallpaper should still aid in resisting any sort of uneven drying issues, but when you want all the elements on your side, it’s best to avoid unnecessary cooling or heating for 48 hours after installation.
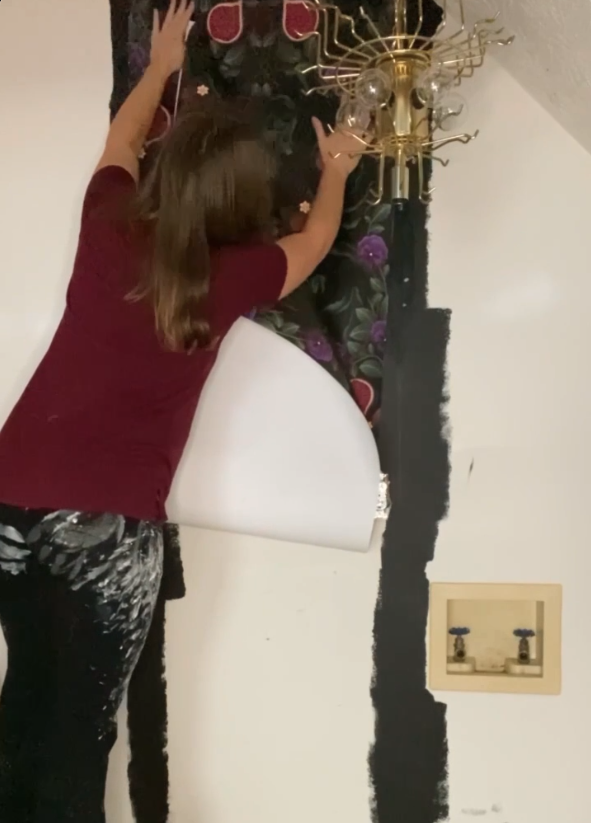
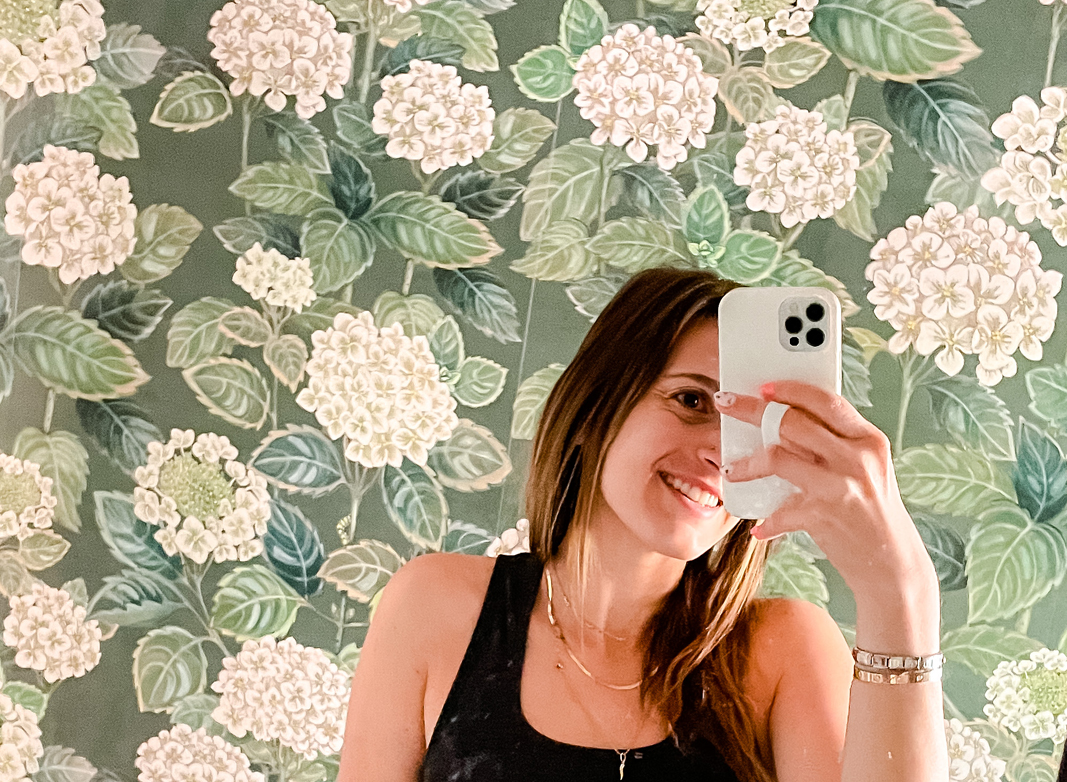
Image above of Lauren Dalstrup using a banding technique as she applies her Figs & Strawberries wallpaper to avoid the appearance of seams.
Measures You Can Take To Prevent The Appearance of Wallpaper Seams
We’ve discussed prepping your wall, paste application and smoothing. But let’s say you’re a newbie with wallpaper. Regardless of the these instructions and tips, you may still get it wrong. What else can you do to avoid unsightly lines in your wallpaper? If you have a black wallpaper on a white wall, the appearances of seams will be highly noticeable. The more you can match your wall with the color of the wallpaper, the more you can camouflage any issue of wallpaper seams. Primer, which we always recommend to seal your wall, usually comes in white. But some primers are tintable, having the capacity to accept a certain amount of color. You may not be able to perfectly match a bold wallpaper color; it doesn’t have to be exact. However, a dark wallpaper on a dark wall or a light wallpaper on a light wall will help hide any issues due to an imperfect installation.
Banding is another term you might hear. This is the process of painting stripes vertically down your wall where the wallpaper panels will meet. This requires you to calculate the width of each panel across the wall so that you can predict within a few inches of where the seams of your wallpaper will be. Then, if you’re putting up a dark colored wallpaper, you can paint dark stripes down the wall. It is essentially the same idea as the above without covering the whole wall.
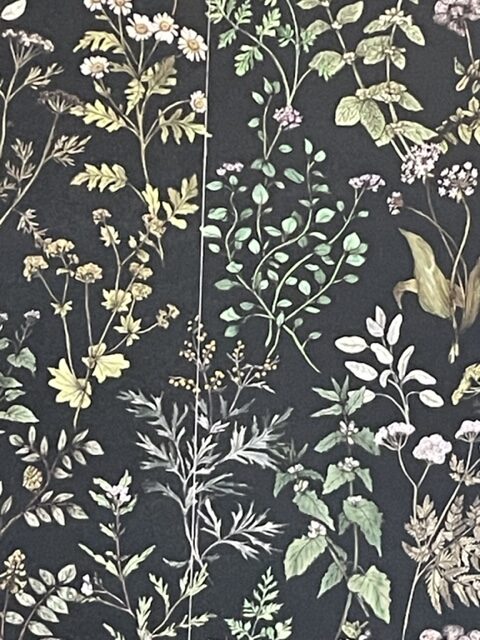
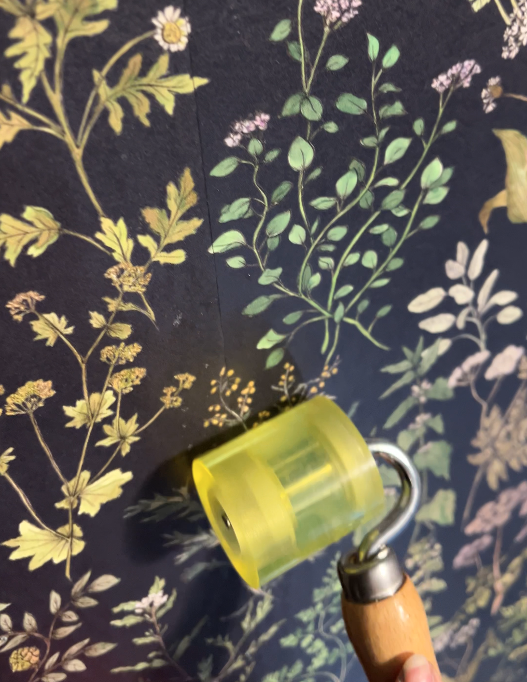
Dark colored wallpapers can pose an especially unique problem. Nearly all wallpapers are printed on a white base. So even if you order a dark colored design, a thick wallpaper can still expose some of the white edge of the paper. So even if there is no visible wall peeking through at the seams, white lines may still be visible. It’s a common misperception that someone is seeing a seam when they are really just seeing the side of the wallpaper. One handy trick is to take a crayon and gently color the side of the wallpaper roll before it is hung on the wall. Watch Jenna in the video below use a black crayon to color the edge of her Herbarium Herbs wallpaper before she installs it. Notice how she also uses a seam roller to increase the tack by putting pressure at the seams.
How To Prevent Wallpaper Seams After Installation
What do you do if you think you did everything right or perhaps you got to this blog too late? What can you do after you installed the wallpaper to get rid of the seams showing? We spoke to celebrity wallpaper installer Katie Hunt, who you may have seen on a number of HGTV type shows. This is her helpful tip:
“I recommend water color pens. They can be applied to the seams, then wiped right away, with a damp/wet microfibre cloth. The color will stick to the wall/liner, and then wipe away from the face of the wallpaper, making the seam no longer visible. As always, it is recommended to test in an inconspicuous spot first, before attempting a ‘main’ area. Quite an easy process, and works amazingly well.”
Thanks Katie!
Below is a video showing this technique in action.
Saul from King Reyes Wallpaper Installers based in Dallas, Texas fixes the appearance of wallpaper seams by using a water color marker in a similar color to the wallpaper background to color in the seam. Once he immediately wipes it, it comes off the wallpaper but remains on the portion of the wall peeking through. It’s a very effective way of minimizing the appearance of seams if you’ve done a quick installation job.
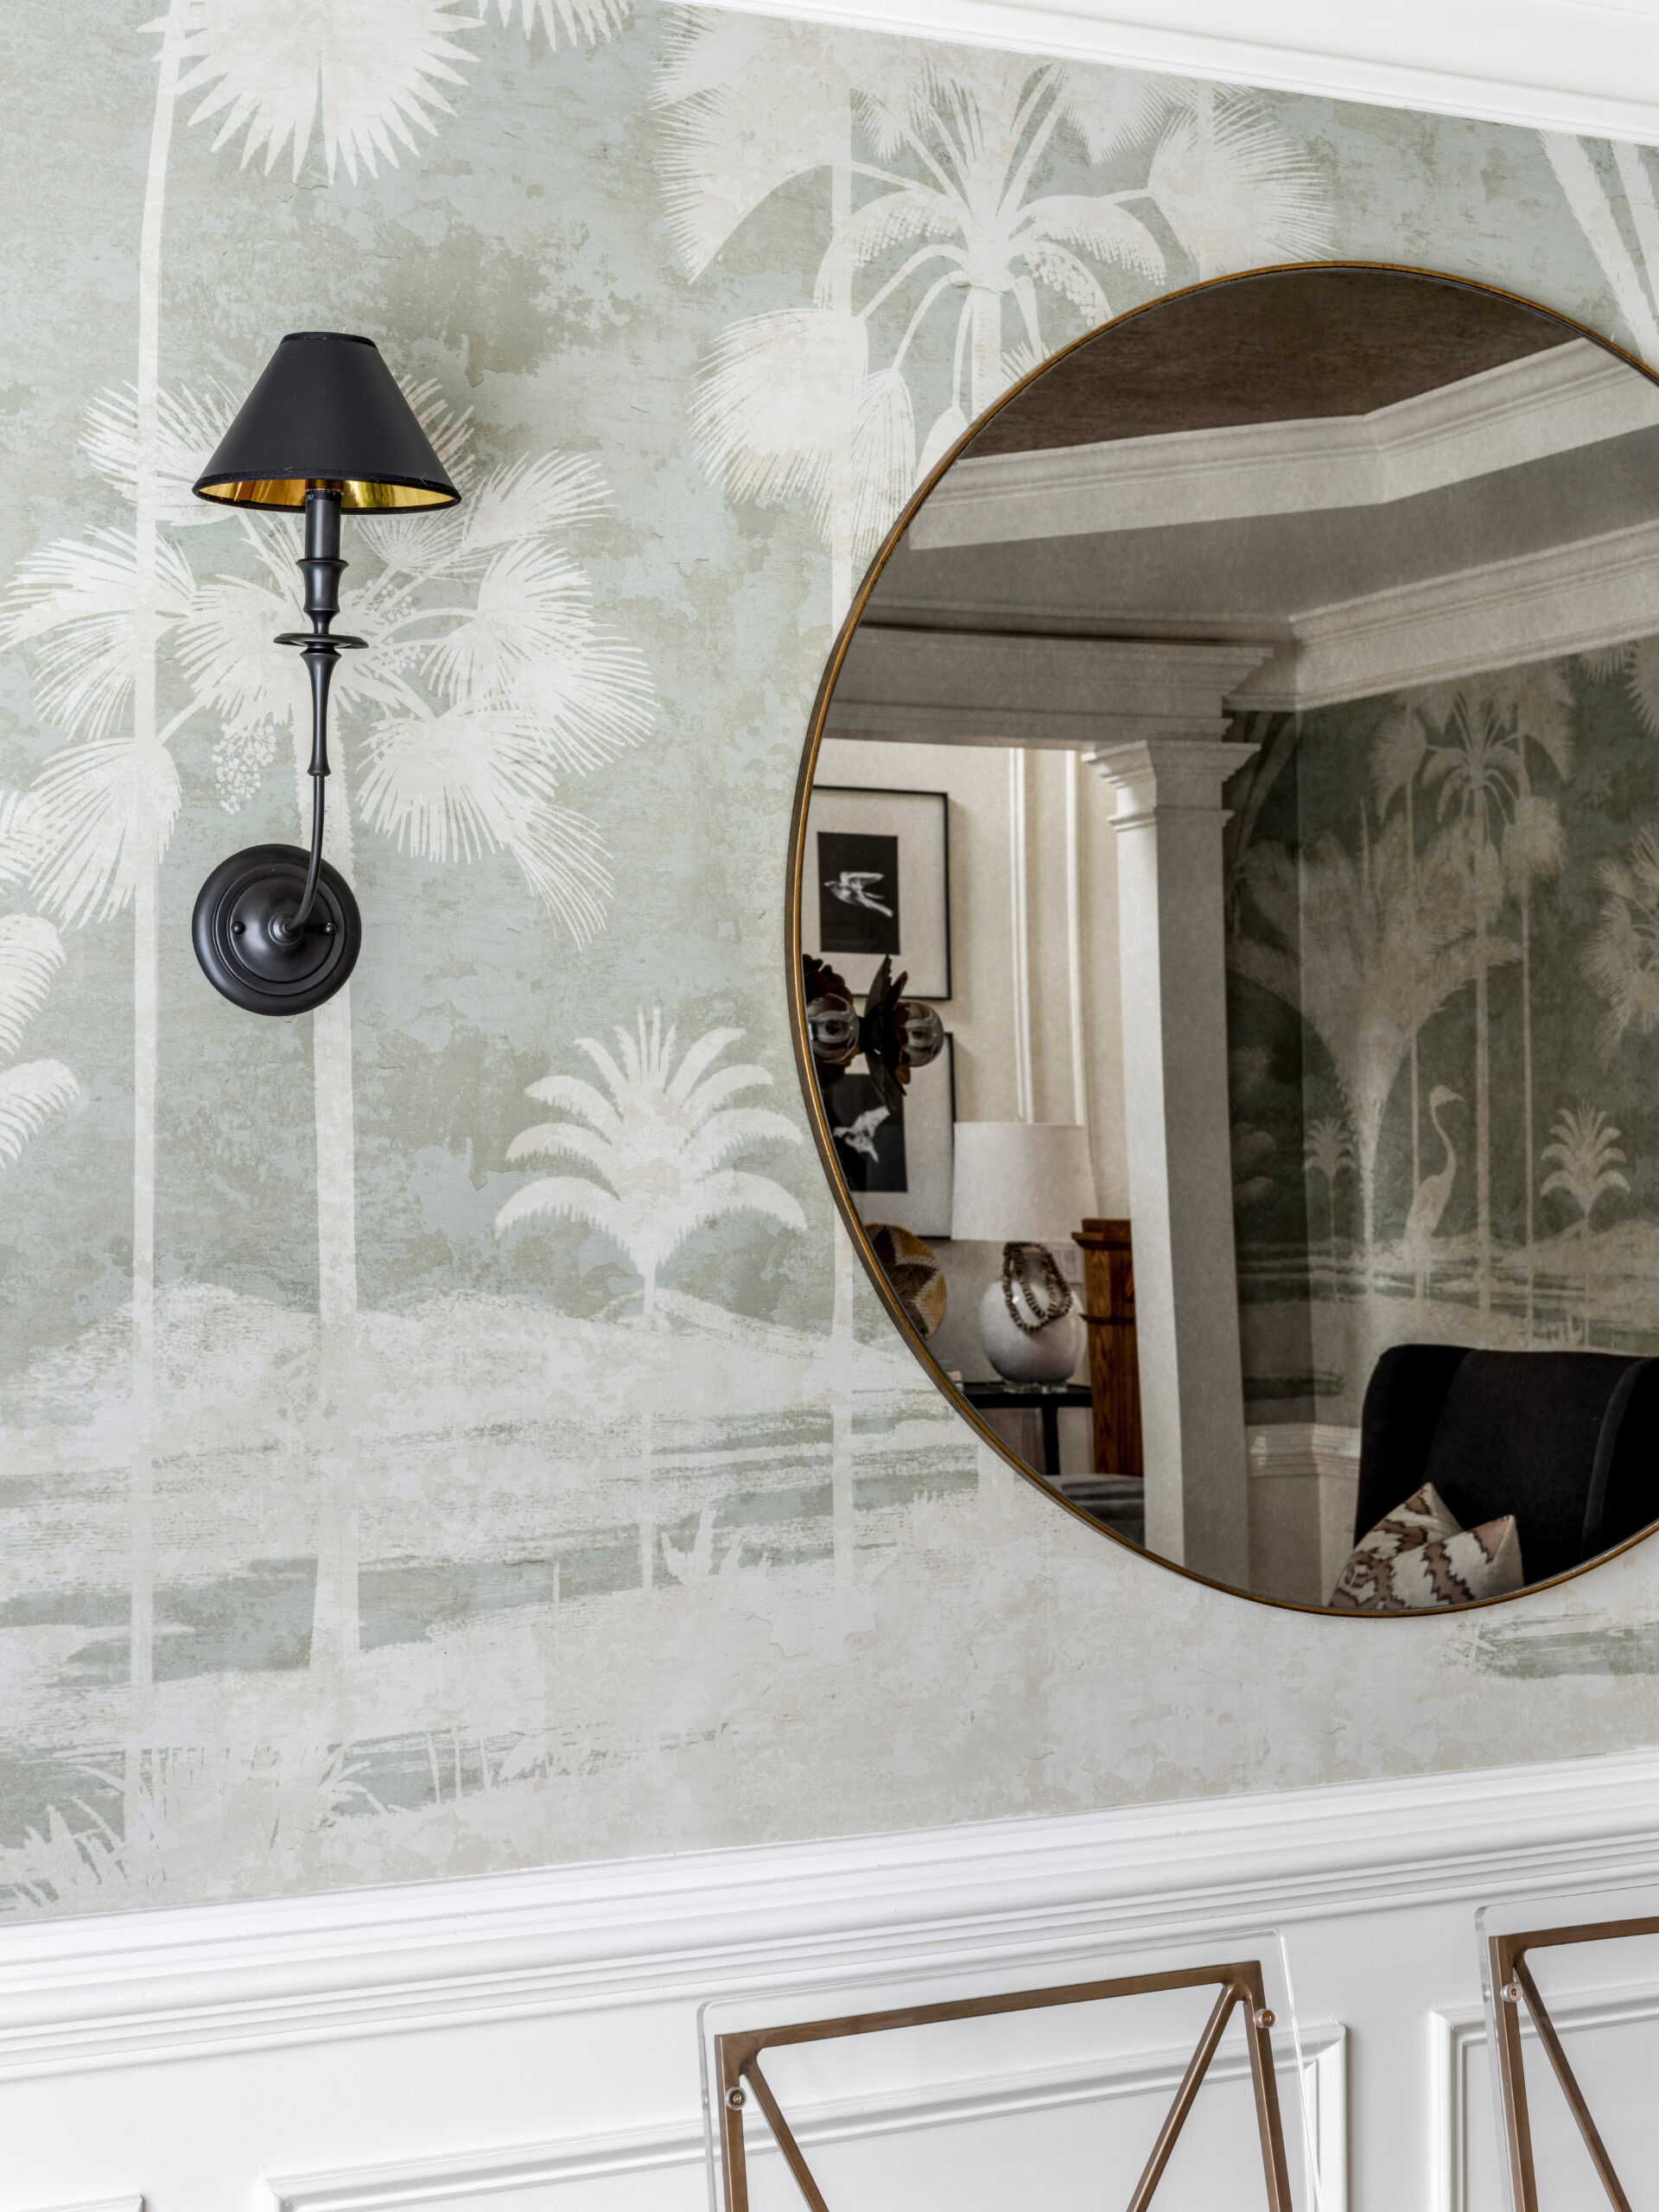
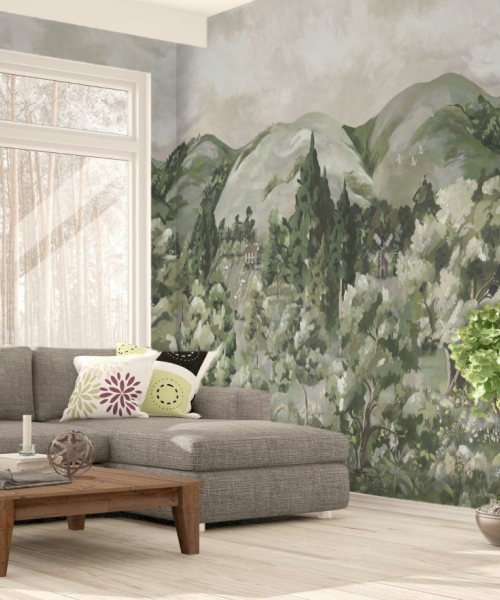
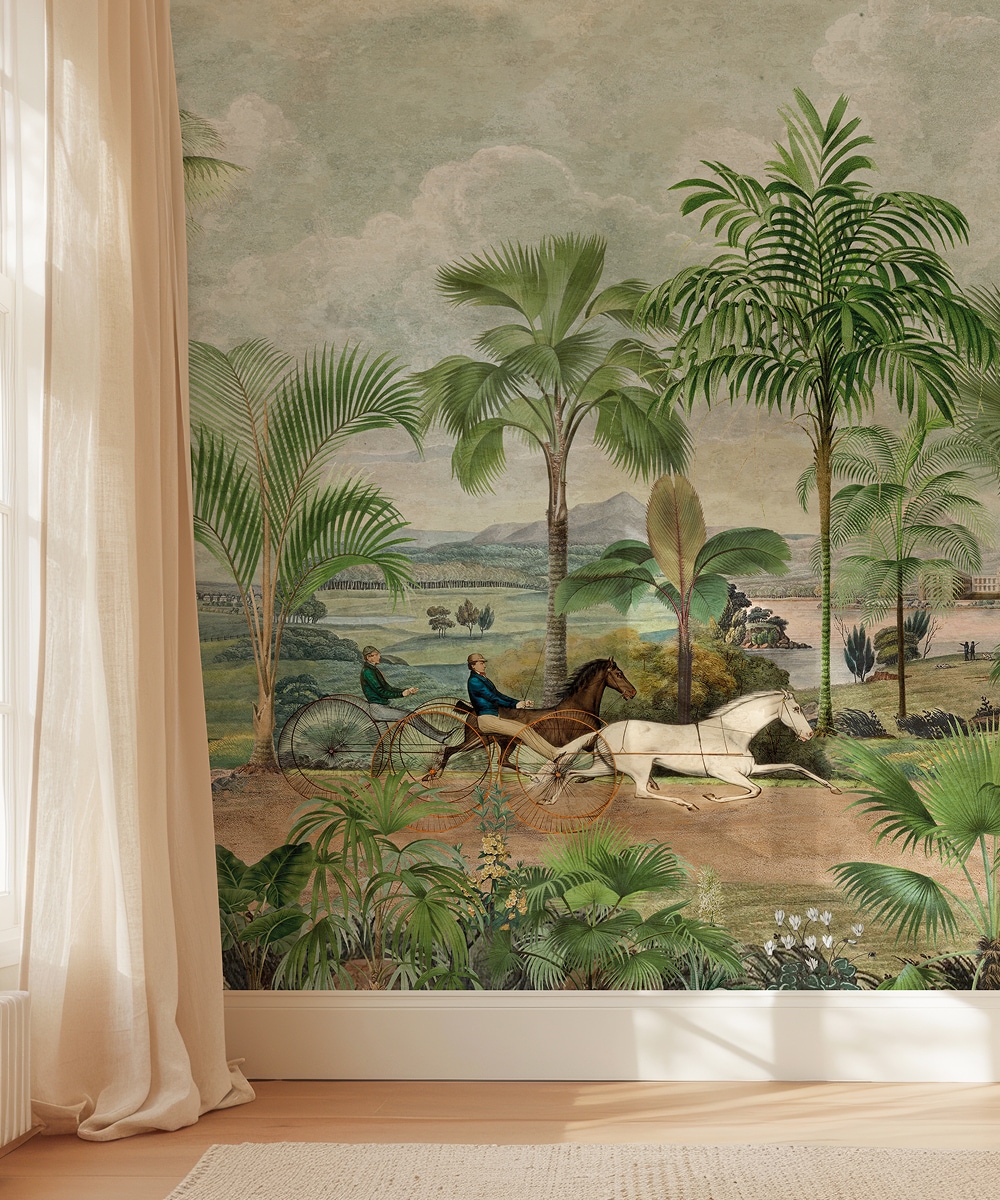
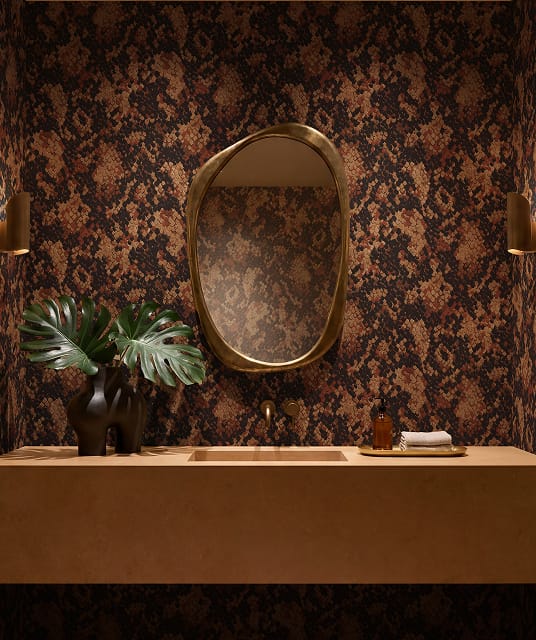
The above image of the Shadow Palm Mural provided by Erika Ward show seams that are hardly visible.
Steps to avoid wallpaper seams:
At the end of the day, you just want your wallpaper to look beautiful. Seams in your wallpaper can make it look tacky. Now you have the knowledge of what to do before, during and, if needed, after installation. So let’s sum up…
- Primer your wall a similar color to your wallpaper or use the “banding” technique
- Be generous and even with your paste application
- For wallpapers that are black or have dark solid background colors, color the side of the roll in a similar color before hanging.
- Apply a good amount of pressure when installing and smoothing the wallpaper, consider using a seam roller. Wipe away any excess paste that pushes out at the seams/edges with a soft cloth.
- Allow your wallpaper to dry as naturally as possible for 48 hours in a well-ventilated space.