

How To Hang Wallpaper
Wallpaper is a great way to create a feature wall or transform an entire room. Knowing how to hang wallpaper is a fairly simple process. But there are certain supplies that you will need and steps you will need to take to make sure your project is completed successfully. If you are haphazard with any of these steps you could run into problems and you don’t want to take that sort of risk in a space you’ll be living in, dining in or waking up in every single day. However, following these steps will give you a sense of accomplishment that you’ll be surrounded by on a daily basis.
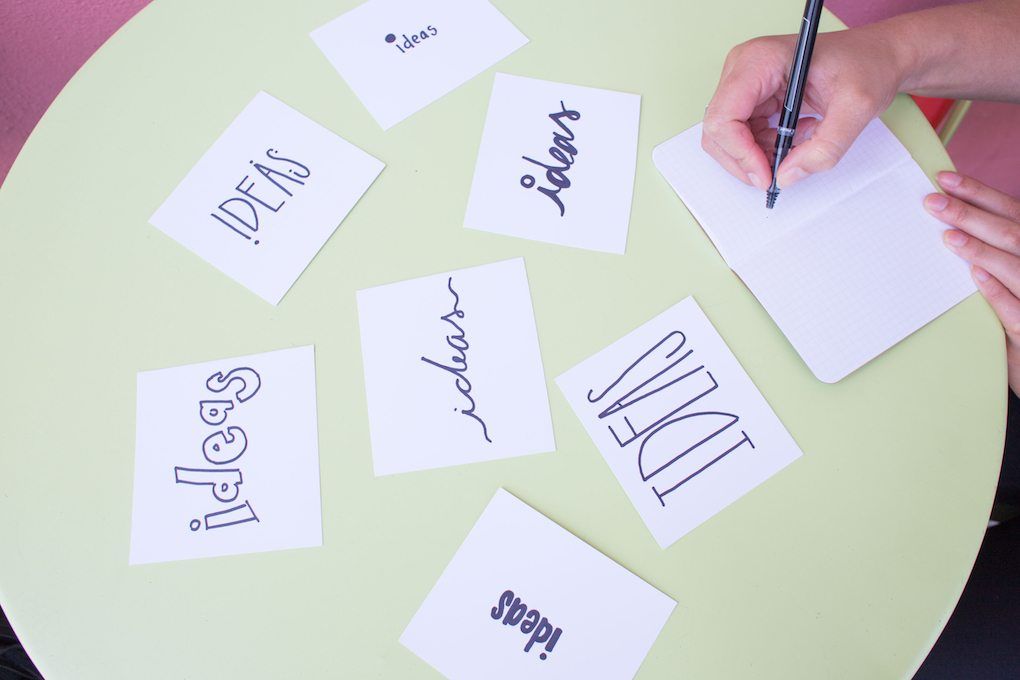
Step 1: Planning
You want to dress your wall with a great wallpaper but where do you begin. Planning might be the most important step to easy wallpaper installation. First, you need to visualize what you want the end result to be. Do you intend to apply wallpaper to the whole room or just one feature wall? Determining the scale of your project will determine how much wallpaper to buy. Measure the height and width of your walls. It’s helpful to always buy a little more than you need. This will help prepare you for any mistakes you might make and help you fix any future damage. You’ll also need to make sure you have more than your exact dimensions because when you are matching the pattern, there is an inevitable amount of waste as your second drop of wallpaper, in order to match the first drop, might have to start at a different point. Milton & King has a calculator on their website that is extremely useful.
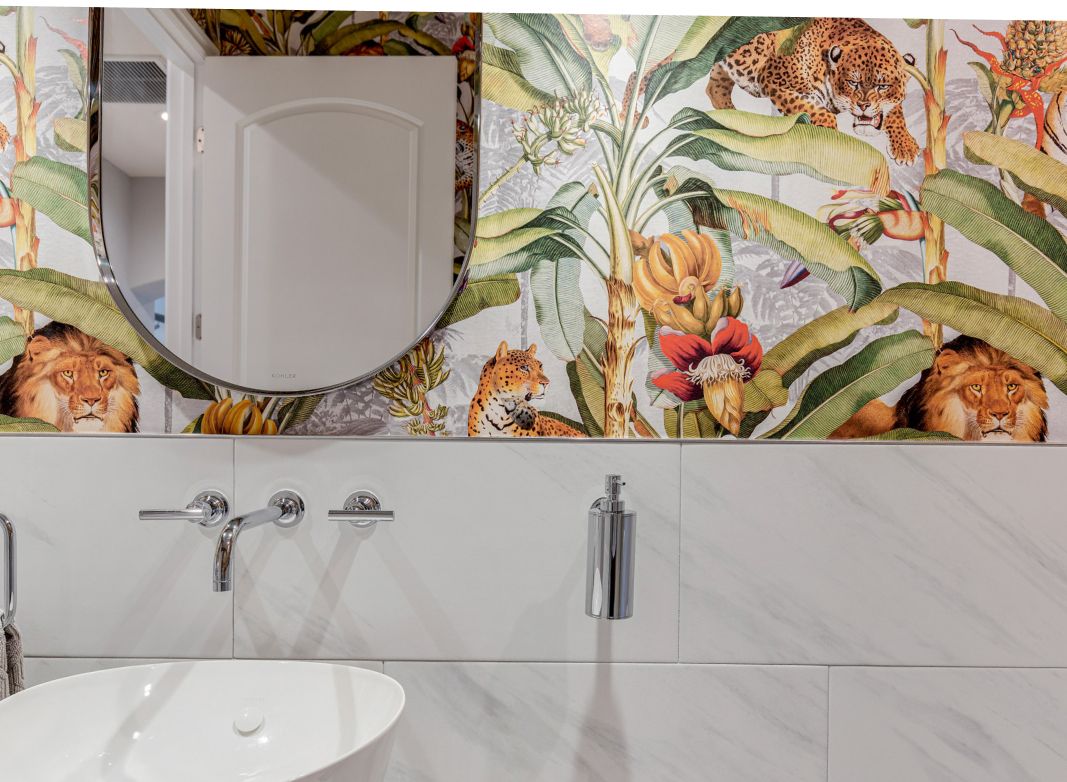
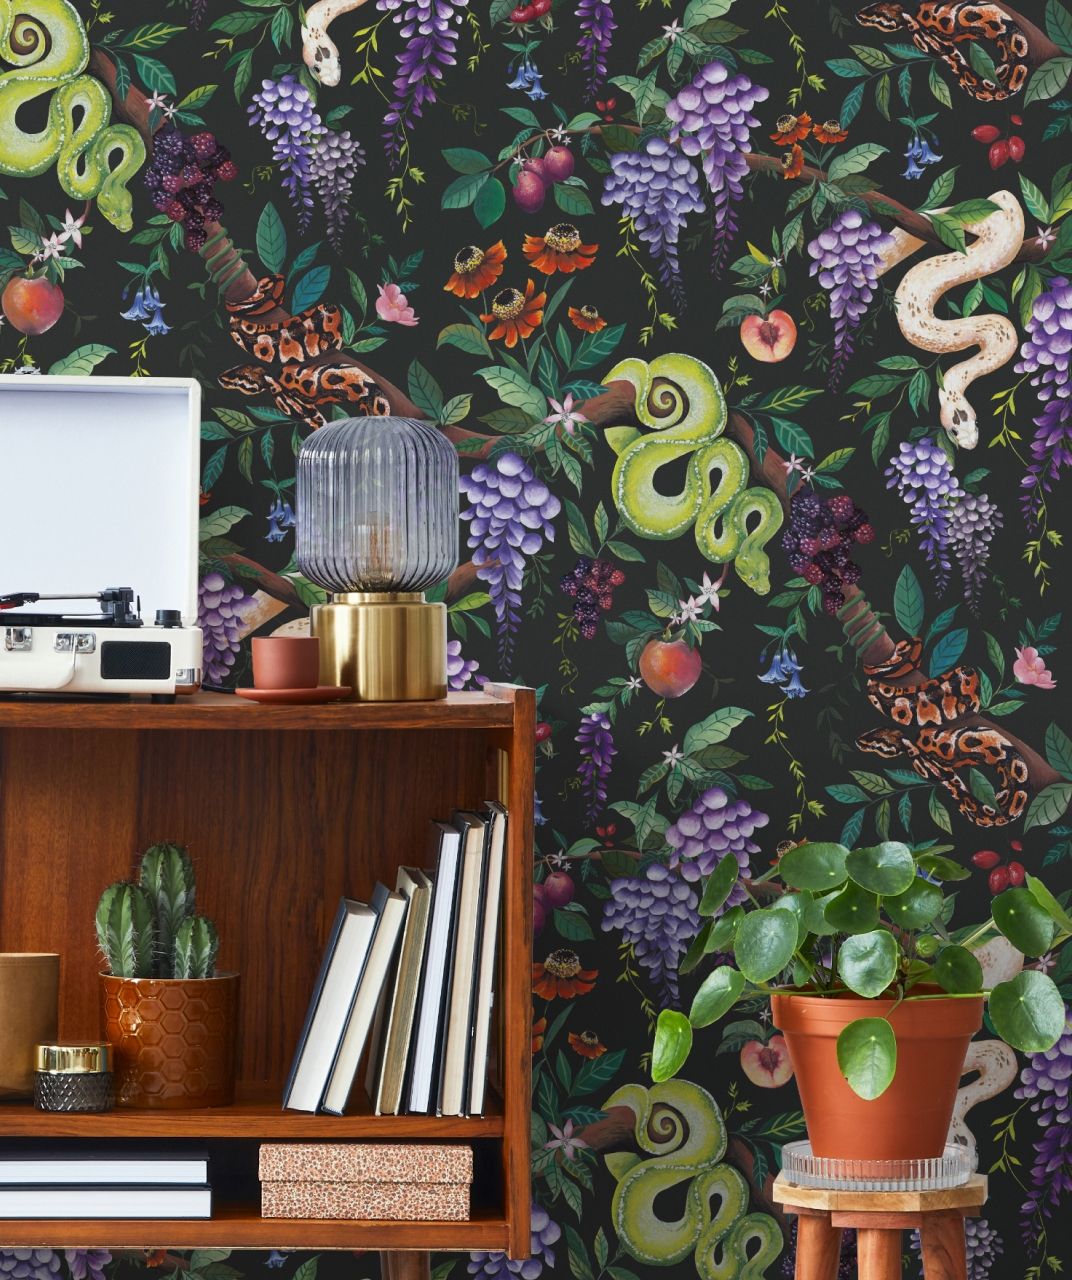
Accent walls, as opposed to wallpapering a whole room, can really help a room have more depth. You can do a feature wall with patterns and colours that set it apart from the rest of the room. What is your goal for the room? Would you like to add height or width? Then a striped wallpaper might be the way to go. Is your furniture dark and you want to contrast it with the room? Then keep your wallpaper choice bright. Think about not only what will look good on your wall but how it is going to go with the bed or sofa that’s in the room. Go to this blog post to go over some other preparation considerations.
Step 2: Prepare the wall
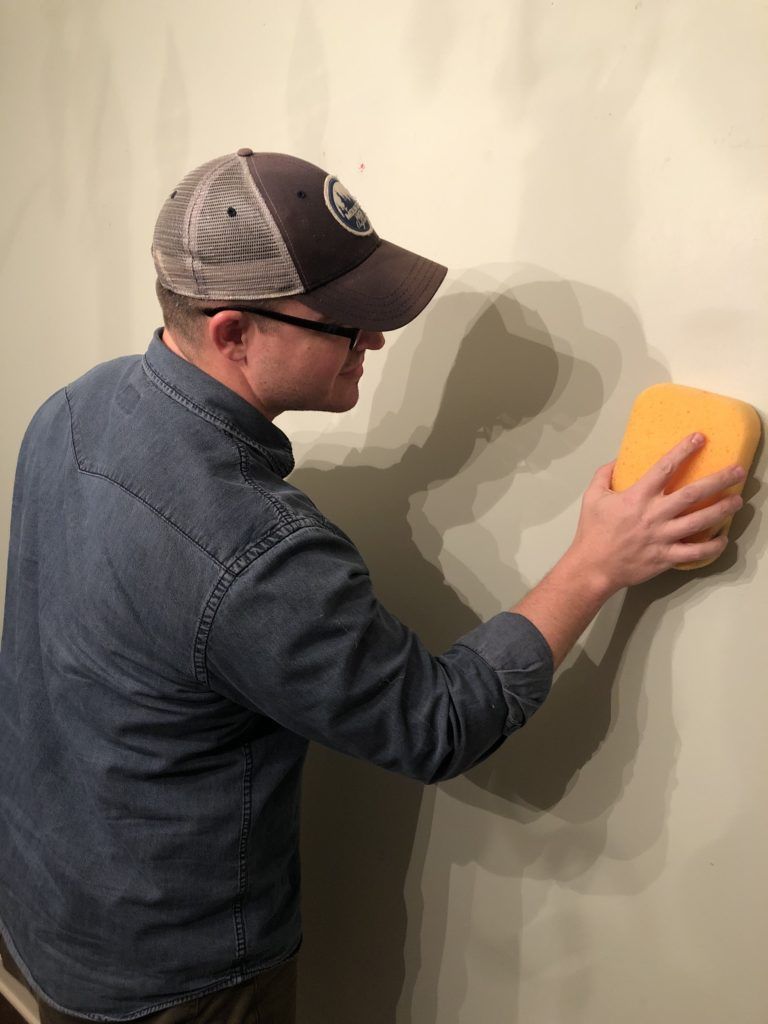
You have your roles of paste-the-wall wallpaper in the the perfect style and colour to suit your taste. Now you need to make sure you take the steps to prepare the wall for your project. Regardless of the type of wallpaper you apply, you’ll want to take a few steps to make sure you get the maximum adhesion and life out of project. If you have any imperfections in the wall, you should sand them flat. This includes if the wall is painted. Leaving a glossy paint on the wall can negatively affect how well the paper will stick.
Be sure to remove any light switch and electrical outlet panels and cover the outlets with electrical tape for safety. Next, you should wipe down your walls with a warm cloth to get rid of marks and dust. After dry, it is recommended to apply primer. Primer is a protectant/sealer that prevents the paste from being absorbed into a wall and allows it to grip to slick surfaces. However, it also makes the wallpaper removal process much easier should you ever decide to update the wallpaper. Use a brush or roller to apply the primer and allow the primer 2 hours to dry before taking the next step.
Step 3: Applying The Paste
When using Paste-the-Wall wallpaper, the paste is applied directly to the wall before hanging each strip. This wallpaper is made with a special backing that does not expand when wet; therefore, it does not need to soak as with other application methods. Using Paste-the-Wall wallpaper can cut your hanging time in half since the wallpaper does not need to soak prior to hanging, it can be hung more easily and quickly. Also, you won’t need to set up a pasting table which can also save you some of the mess and clean up. We recommend using a paint brush to apply the paste where you will hang your first drop. A brush is best to paste in the corners and along the edges and then a roller can be used on the rest of the wall. Make sure that the paste is evenly distributed on the wall.
Step 4: Hang Wallpaper
When hanging wallpaper, always start at the top and work your way down. Always put up wallpaper a bit past the corners of the adjacent wall and the ceiling. This will allow you to take a precision utility blade to make a clean, straight cut of the wallpaper. Use a ladder if necessary to reach the highest point of the wall. As you attach the wallpaper, use your hand to guide the adhesion as you make your way down. Make your way to the bottom of the wall letting the remaining roll of wallpaper hanging below the bottom. Use a plastic wallpaper smoother to smooth out any bumps or ripples in the wallpaper in a motion that is downward and outward to the left or right. Once the paper is flat and smooth, use the straight precision blade to cut any overlapping edges of the wallpaper.
Applying the second sheet of wallpaper will be the same process as the first. You will apply the paste and then hang and smooth the wallpaper from top to bottom. You will not just start where you cut the previous drop as you may have to match the wallpaper pattern. This may cause some paper waste depending on how the consecutive drops line up. As you smooth out additional drops of wallpaper, be sure to wipe any paste that is pushed out at the seams with a damp cloth or sponge to avoid any shiny areas. Repeat these steps until you’ve put up the wallpaper across the wall/room. Use a seam roller to gently roll up and down the seams.
Sep 5: Cut The Wallpaper For The Power Points
After your wallpaper has been applied, smoothed and trimmed, you will want to cut the wallpaper for the power points. The best method for doing this is to use your hands to feel for where the power points are. Second, cut a small “X” over the power point from corner to corner. This will allow you to peel the wallpaper back from the power point and cut any paper that is obstructing part of the outlet. Finally, screw the panel covers back on over the wallpaper.
Learning how to hang wallpaper doesn’t have to be a stressful experience but we don’t recommend doing it alone. It’s always helpful to have an extra pair of hands and an extra set of eyes. If you follow these steps for how to hang wallpaper, you will find it ultimately a rewarding experience. It will also give you a sense of accomplishment and create an environment you really enjoy being in. Be sure to also check out the video below by Milton & King that illustrates the process.
How To Hang Wallpaper: A Quick Recap
- PLAN: set your goals and measure your space. Here is a handy wallpaper calculator that will help.
- PREPARE: Patch holes and smooth imperfections, wipe away dirt and dust and apply primer. Remove power outlets covers.
- APPLY paste to the wall evenly using a brush for edges and corners and a roller for large parts of the wall
- HANG wallpaper starting at the top, guiding and smoothing the paper with your hand in a downward and outward motion. Repeat as necessary. Carefully match patterns on consecutive drops of wallpaper.
- CUT and TRIM: Use a utility knife to cut excess paper along the ceiling, floor and over power points.